
How to Clean and Seal Pavers So They Stay Looking New
Pavers rarely fail all at once. They fade a shade, a weed pushes up through a joint, a grease spot refuses to rinse away, and one season later the surface looks tired even though not a single stone is cracked. Almost every one of those problems traces back to an unsealed, unmaintained surface. The part most people miss is that the sealer is only the last step, and not the most important one: the clean, the dry-out, and the joint sand carry most of the load. A perfect sealer over a dirty, damp, or under-sanded surface locks the problems in permanently. So it helps to understand what sealing actually does before touching a product.
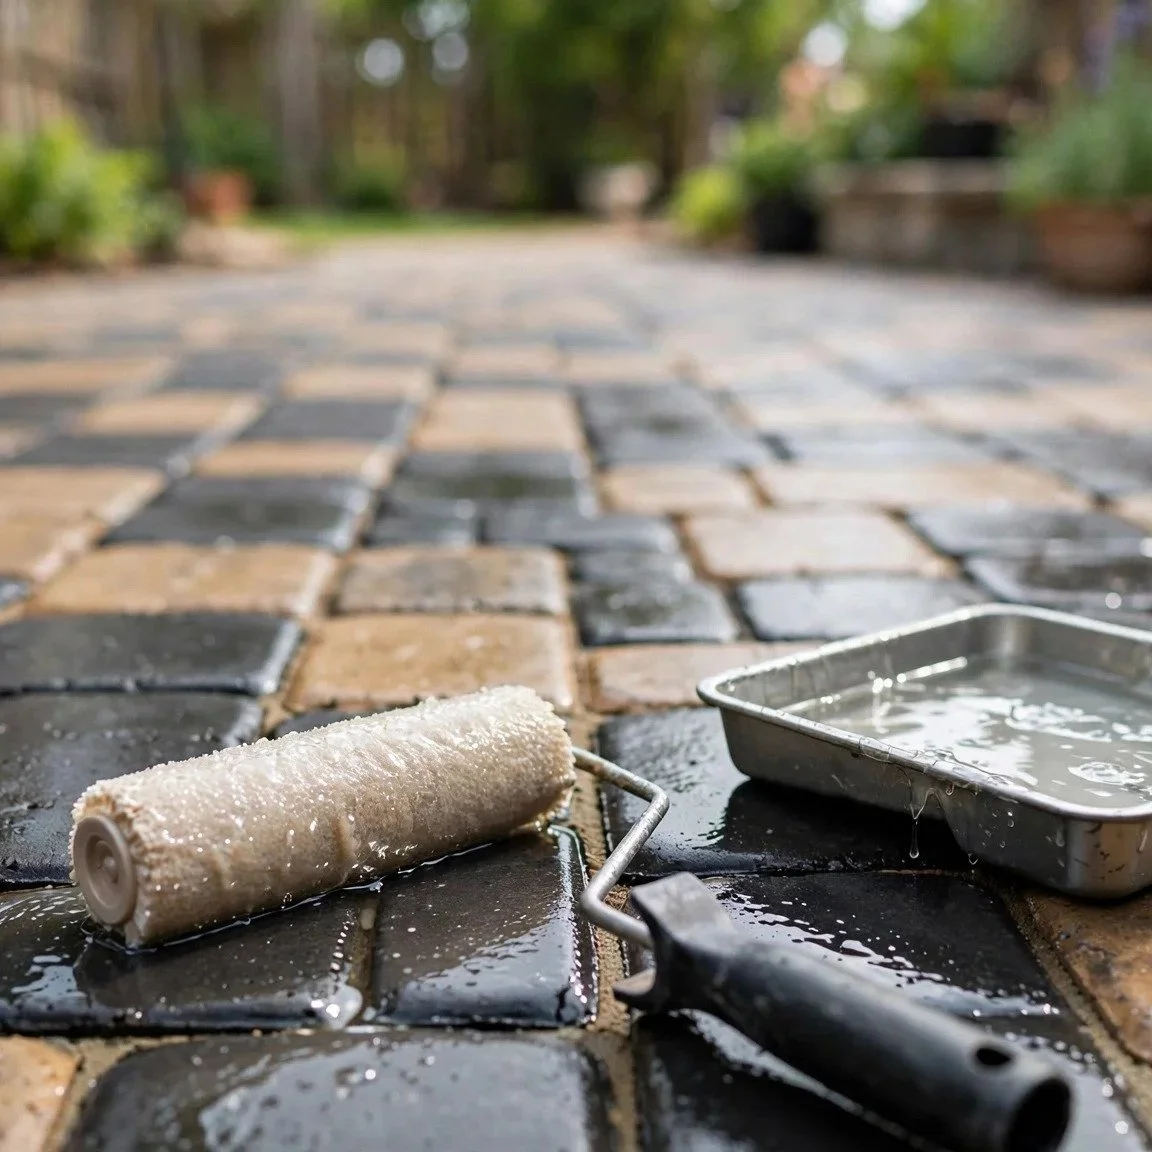
Why Sealing Pavers Is Worth the Effort
An unsealed paver is porous. Water, oil, leaf tannins, rust from a chair, and airborne grime all soak in and set. Sealing fills and coats the pores so spills sit on top long enough to be wiped up instead of drawing in and staining.
The protection works on four fronts. It slows fading by shielding the pigment from constant sun, so a rich charcoal or warm buff holds its tone instead of graying out. It resists staining because the pores are closed. It stabilizes the joint sand, so wind, traffic, and rain stop washing it out. And a sanded, sealed joint gives weeds and ants far less to root or tunnel into.
None of that changes the stone itself. Sealing is a maintenance coat, not a repair, and it wears. Sun and moisture attack a sealed surface year-round, which is why re-sealing is a recurring job rather than a one-time fix. Skip it, and the pavers slowly return to their raw, thirsty state.
Sealing is not the same as cleaning: A wash makes pavers look new for a week; sealing makes that clean surface stay clean. Cleaning removes what is already there; sealing changes how the surface behaves going forward, so the next spill or rain does less damage. You need both, in that order, and cleaning alone is no substitute for sealing.
Clean the Surface First, and Do It Gently
Sealer bonds to the paver, not to the dirt on it. Anything you trap under the coat is there for the life of the seal, so the cleaning step decides how good the finished job looks.
Start dry. Sweep the whole surface and lift out debris caught in the joints. Pull weeds by the root, including the fine ones along the edges, because a sealed-over weed just dies and leaves a gap. Knock back any moss or algae in shaded corners.
Then wash. A garden hose and a stiff-bristle broom handle general grime. For set-in stains, efflorescence (the chalky white haze that surfaces as moisture evaporates through the stone), grease, or rust, reach for a cleaner made for pavers or natural stone and match it to the stain: a degreaser for oil, an efflorescence remover for the white haze. Test any cleaner on a hidden paver first, and rinse thoroughly so no residue interferes with the sealer.
Why high-pressure washing usually backfires: Blasting everything clean with a pressure washer on full power is one of the most common ways to ruin a paver surface. A concentrated stream strips sand out of the joints in seconds, etches and pits the face of the stone, and can blow apart the fine top layer that gives pavers their finish. If you use one at all, keep it at low pressure, use a wide fan tip, hold it well back, and never drive it into a joint. A gentler wash that takes longer is the safer trade every time.
Beyond the surface risk, the stream can cut skin and throw debris, so wear eye protection and closed shoes and keep the wand away from people and pets.
Let the Pavers Dry All the Way Through
This is the step people rush, and rushing it causes the ugliest failures. Sealer trapped over moisture cannot cure clear: the water locks under the coat and clouds it, leaving a milky white haze called blushing that no amount of buffing removes. Fixing it usually means stripping the sealer and starting over.
Pavers hold water inside the pores, not just on the surface, so a top that feels dry can still be damp underneath. Give the surface time after washing, generally one to three dry days depending on humidity and sun, and longer if it rained or you soaked the joints. The pavers should be dry to the touch and evenly colored, with no dark damp patches, before any sealer goes down.
Refill the Joints Before You Seal
Sand-filled joints are structural, not cosmetic: the sand wedges the pavers against each other so they share load instead of shifting, rocking, or spreading. Cleaning almost always pulls some out, so top the joints up before you seal, since sealing locks whatever sand level you have in place.
Sweep fresh joint sand into the gaps until they are full to just below the paver edge. For most patios and walkways, polymeric sand is the upgrade worth making. It carries a binder that, once swept in and lightly misted, hardens into a firm joint that resists washout, knits the field together, and blocks the gaps weeds and ants use. Follow the activation steps exactly, since over-watering polymeric sand can leave a haze of its own.
Match the sand to the joint: Polymeric sand needs a minimum joint depth and width to cure solid, so very tight or shallow joints may call for a fine regular joint sand instead. Check the bag for its joint-size range, and clear every grain of loose polymeric sand off the paver faces before wetting, since any left on the surface can cure into a stubborn film.
Choose the Right Sealer for the Look You Want
Sealer choice is two decisions: the finish you want and the chemistry that delivers it.
Penetrating versus film-forming: A penetrating (or invisible) sealer soaks into the stone and protects from within while leaving the natural, matte look essentially unchanged. It resists stains and water, breathes well, and wears invisibly rather than peeling, which makes reapplication simpler. It will not deepen color or add shine.
A film-forming sealer lays a coat on top and delivers the wet-look or gloss finish, enriching the color and adding sheen. It gives strong surface stain resistance and firms up the joint sand. The trade-off: a film can peel or wear in traffic paths and must be stripped rather than recoated, and it shows more shine variation if applied unevenly.
Solvent-based versus water-based: Solvent-based sealers typically penetrate deeper, pull out a richer wet look, and hold up in heavy traffic, but carry stronger fumes and a longer dry time. Water-based sealers are lower in odor, easier to clean up, and more forgiving, with a finish that reads a touch more natural. Both work; the right pick depends on the look you want and the conditions you can seal in.
One note that drives the choice for pool decks and steps: any film-forming or glossy sealer can leave a wet surface slippery. Where pavers get splashed or see bare feet, choose a penetrating sealer or one formulated with a fine anti-slip additive.
Apply Thin, Even, and Never Puddled
More sealer is not more protection. Over-application is the second big cause of a hazy, blotchy finish, right behind sealing over moisture: excess sealer that pools in low spots or joints cannot soak in or cure evenly, so it dries cloudy.
Work in sections with a low-nap roller or a pump sprayer, back-rolling to spread the product and break up puddles before they sit. Keep the coat thin and uniform: two thin coats, the first fully dry before the second, beat one heavy coat every time. Watch the joints and any dips where sealer collects, and feather those out. Then let it cure fully, off-limits to foot traffic and cars, for the time the label specifies.
Work safely with sealers and solvents: Keep leftover cleaners, rinse water, and sealer runoff away from garden beds, storm drains, and pools, since they can harm plants and aquatic life.
WARNING: Most paver sealers, especially solvent-based ones, are flammable and give off strong fumes. Apply with good airflow, keep every ignition source such as pilot lights, grills, and cigarettes well away, and wear gloves, eye protection, and a respirator rated for the product.
How Often to Re-Seal
A sealer is a wear layer, so plan on renewing it. Many penetrating sealers hold for several years, while film-forming and wet-look coats often want refreshing sooner because the shine dulls and shows traffic wear first. Sun and moisture age the coat all year, so the interval depends more on exposure and traffic than on any single season.
The Payoff for Doing It Right
Done in order (clean, dry, re-sand, then seal), the surface reads new far longer than an untreated one: color stays saturated instead of chalking out, spills wipe up instead of setting, joints stay locked so the field does not creep or sprout weeds, and ants lose the loose sand they nest in. You are not changing the stone; you are giving it a maintainable shell you refresh every few years instead of replacing pavers you let go too long.
Frequently Asked Questions
Can I seal brand-new pavers right after they are installed?
Not immediately. Fresh installations often need a curing window (frequently around 30 to 90 days) so construction moisture and early efflorescence can work out of the stone before you trap them under a sealer. Sealing too soon is a common cause of a hazy first coat. Let the pavers weather, clean off any efflorescence that surfaces, then seal.
Will sealing make my pavers darker?
It depends on the sealer. A penetrating or "natural look" sealer leaves the color essentially unchanged. A film-forming, "wet-look," or "color-enhancing" sealer deliberately deepens the tone and adds sheen, which can make a buff paver read noticeably richer. To preserve the current look, ask for a natural or matte penetrating product, and always test on a spare paver first.
What is the white haze that shows up on my pavers?
That chalky bloom is usually efflorescence: mineral salts inside the stone that dissolve, migrate to the surface with moisture, and deposit as the water evaporates. It is normal, especially on newer stone, and a dedicated efflorescence cleaner removes it. A milky haze that appears after sealing is a different problem (trapped moisture or over-applied sealer), not efflorescence.
Do I have to re-sand the joints every time I clean?
Not always, but check them each time. A quick rinse may leave the joints intact, while a scrub or any pressure washing usually pulls sand out. Anywhere the sand has dropped below the paver edge, top it up before sealing, since a sealer sets the current sand level in place. Under-filled joints let pavers shift and give weeds an opening.
Can I use household bleach or vinegar to clean my pavers?
It is risky. Undiluted bleach can lighten or blotch pigment and kill nearby plants in the runoff, and acidic cleaners like vinegar can etch natural stone and eat into the joints. A cleaner formulated for pavers or natural stone is pH-matched to the material and far safer. If you try a general product, dilute it, test on a hidden paver, and rinse thoroughly.
How do I know whether my pavers are already sealed?
Run the water-drop test. Splash water on the surface: if it beads up and sits, there is a working sealer in place; if it soaks in within a minute and darkens the stone, the pavers are unsealed, or the sealer has worn off. Check a few spots, since traffic paths lose their seal faster than protected corners.
Ready to keep your pavers looking new for years — protect the color, joints, and finish with the right stone and sealer for your surface. North Valley Stone Supply serves Phoenix, Scottsdale, and the Valley. Call (623) 244-8657.